
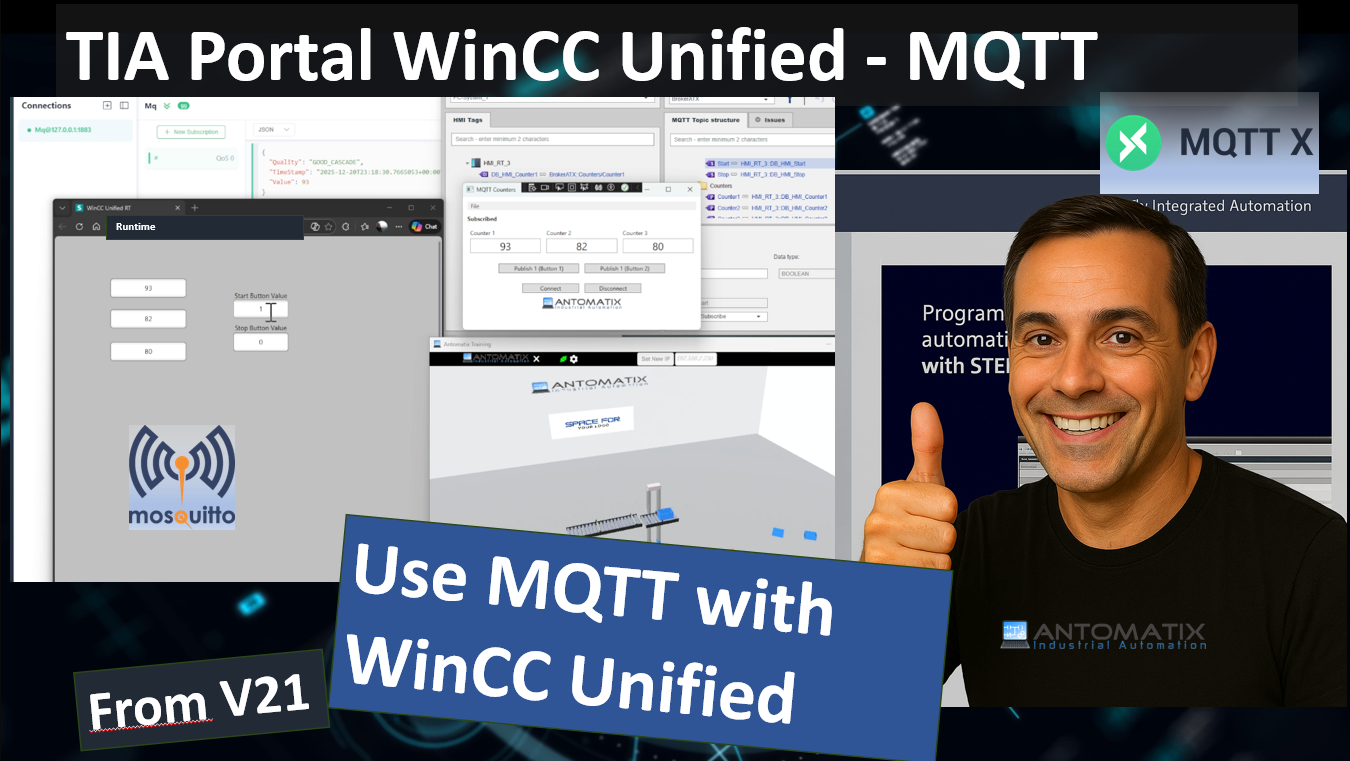
If you’ve ever wanted your WinCC Unified Runtime to talk to the outside world (Node-RED, dashboards, test tools, or your own apps), MQTT is one of the cleanest ways to do it. In this video walkthrough, I show a practical setup using:
- TIA Portal V21
- WinCC Unified Runtime with an MQTT Provider
- Mosquitto as the MQTT broker (running locally)
- A simple PC MQTT client approach (e.g., NMQTT) to publish/subscribe and validate the data flow
The goal is simple: get Unified tags onto MQTT topics, verify the broker connection, and prove that external tools can read/write values reliably.
Why MQTT with WinCC Unified?
MQTT gives you a lightweight “data bus” that many systems already understand. Once Unified can publish tag values and react to incoming messages, you can:
- Push runtime values into dashboards (Grafana/Influx/Node-RED, etc.)
- Build quick commissioning tools without touching PLC code
- Simulate buttons/commands from a PC app (Start/Stop, mode changes)
- Record tag history or run automated tests
What you need before you start
- TIA Portal V21 with a WinCC Unified project
- WinCC Unified Runtime available on your target (PC/Panel depending on your setup)
- Mosquitto broker installed (or any MQTT broker you prefer)
- Optional but recommended: an MQTT inspection tool (MQTT Explorer / MQTTX / etc.)
Links:
https://mosquitto.org/download
Step 1: Run a local MQTT broker (Mosquitto)
In the demo, the broker is configured locally using:
- Host:
127.0.0.1 - Port:
1883
That’s the fastest way to confirm your engineering is correct before you move to a “real” broker on a server or edge gateway.
Step 2: Configure the MQTT connection in WinCC Unified
Inside the WinCC Unified engineering (TIA Portal), the key place you’ll spend time is the MQTT broker connection settings.
What you typically define here:
- Broker address + port (e.g.,
127.0.0.1:1883) - Protocol details (commonly MQTT 3.1.1 in many setups)
- Connection object/name (so you can reference it consistently in your project)
Once saved, you should see the connection listed under your project connections, and later you’ll be able to confirm it goes “connected” when Runtime starts.
Step 3: Define topic structure and map HMI tags
This is the part most people underestimate.
In Unified you’ll configure things like:
- Topic structure / topic path
- Which HMI tags publish out
- Which topics Unified subscribes to (to receive commands)
- Correct data types (BOOL, INT, etc.)
In the video, you can see typical “command style” tags like Start/Stop where the datatype matters a lot (especially if you’re writing values from another client)
Step 4: Start WinCC Unified Runtime and verify the connection
After configuration:
- Start the broker (Mosquitto)
- Start WinCC Unified Runtime
- Confirm the MQTT connection status is healthy
If Runtime doesn’t connect, the usual causes are:
- Broker not running
- Wrong host/port
- Firewall blocking the port
- Wrong authentication (if enabled)
- Topic structure mismatch (less common, but it happens)
Step 5: Test publish/subscribe from a PC client (NMQTT-style approach)
A big part of the video is about proving the MQTT traffic with a PC-side client.
What you want to validate:
- Unified is publishing tag updates → your PC client can subscribe and decode them
- Your PC client can publish commands → Unified receives them and updates tags
Wrap-up
By the end of this setup you have a working chain:
WinCC Unified Runtime ⇄ MQTT Provider ⇄ Mosquitto ⇄ External Client (PC/NMQTT/Tools)
That opens the door to dashboards, remote test panels, automated commissioning scripts, and clean IIoT-style integration—without reinventing a protocol.